Calendar design quick and easy
Whether it is a wall calendar or a desk calendar – with the SAXOPRINT calendar designer, you can create the ideal calendar for you in just a few steps. On this page, we describe in detail how it works, from product configuration to designing and placing the order.
If you have any questions, our
customer service will be happy to help you.
Your individual calendar in 5 simple steps
1. Configure your personal calendar
Choose the appropriate wall or desk calendar and select the properties for your calendar in our calculator. Afterwards click on “Create calendar”.
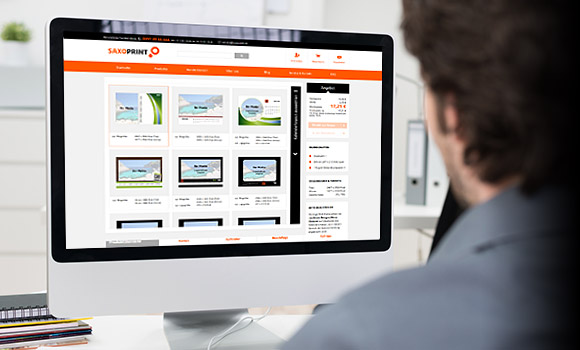
2. Layout selection
Select the layout you want in our calendar designer. There are 15 different designs for you to choose from.
3. Upload logo
If you wish to add a logo, you can now upload your company logo. You can upload your logo as a JPG/JPEG or PNG file. For optimal printing results, please stick to the required dimensions and resolutions.
Please note that after uploading the second calendar image, the logo can no longer be modified.
4. Upload images and photos
You can now upload your motifs for the cover and the individual months. You can rotate and mirror them afterwards.
In order to print your calendar in the highest quality, you can view the individual images directly after the upload to see whether the format and resolution are adequate. If the display is green, your motif is perfectly suited for printing. If the display is yellow or red, please follow the displayed instructions.
5. Order the calendar
Now you can order the finished calendar.
Log in, select a payment option and a different delivery address, if necessary, and complete the order.